Rubber stamps appear simple to operate, but they can be challenging to use consistently, especially when more detailed designs are involved.
The look you want can be achieved by practicing your stamping techniques, improving your results.
Ink, surface, and technique can contribute to your stamp print not turning out as you planned. Here are some suggestions on how to get the most out of your classic and a DIY stamp.
Ink is all that matters.
Make doubly sure you have good ink in the ink pad. Fresh ink pads can be somewhat "juicy." Blot extra ink from the pad with a paper towel in this scenario. To ensure keeping ink at the top of the pad, store it covered and upside down.
Choose a strong surface.
If you're using your DIY stamp, be sure you're using a solid, and even surface - your kitchen counter or a packing table will do the job. To protect your tabletop while providing additional support, place a piece of paper on top.
Perfection is key.
Use the ink pad to stamp your image. Be sure to check the whole design before you stamp. Then pull up straight from the surface, pressing gently, equally on it for a few seconds. The stamp can be gently rubbed to contact the surface with the design when you use a larger stamp.
Make A Good Design.
A thin, even layer of fabric ink should be used on the stamp to get a good impression. You should choose a stamp with a few fine details that are bigger. Next, print your pattern on any scrap piece you want.
If you're happy with your stamped pattern, put the scrap away and make your whole cloth. Don't forget to press down evenly and straight on the stamp.
Do not move it around or wiggle it. After you complete the stamp, pick it back up and keep going! Use the largest stamp first, then the smallest one, so that you can benefit much more from the negative space left from the larger stamp.
Keep your gear in good condition.
Stamps should be kept clean. If you do not clean your stamp with a damp cloth after you've used it, we suggest you do so immediately when you're done using it (we use alcohol-free baby wipes).
Especially if your stamp has fine details, be careful about getting water on the timber block and don't get any on the stamp. You should keep your rubber stamp out of direct sunlight and store it in a dry, shaded environment to prevent it from yellowing.
Wrapping Up
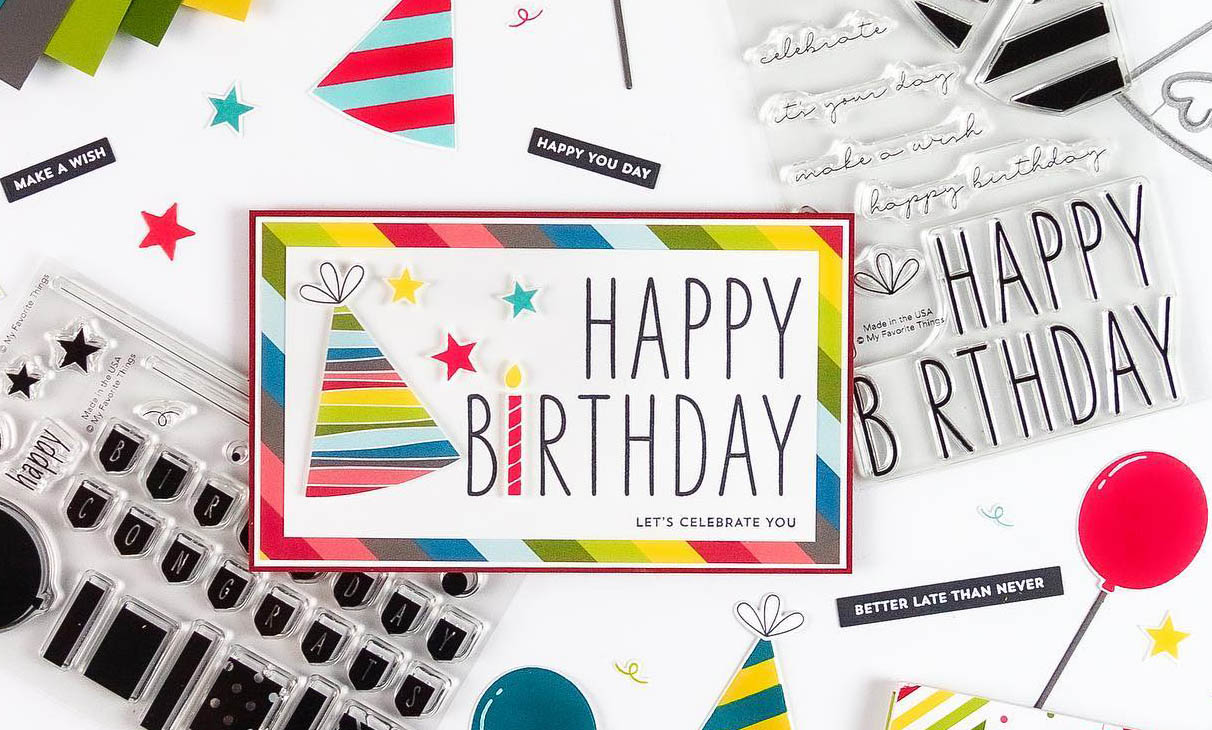
It has been a rise in popularity in the art world, from nail art to card invitations. Stamping projects can now be embellished with bright and fun colors!
You can use the DIY stamps easily if you keep the above-stated tips in mind. Paints containing oil ingredients act as solvents when contacted with rubber components, leading to degraded rubber and tacky oil paint. Therefore, acrylic paints can be used with rubber stamps with great results.